The idea for heating/browning/griddling (is that even a word?) a cheese or other type of Danish pastry dates back to the 1970’s while I attended an all-girls’ college in Massachusetts. Those were the days when girls sat around and ate and ate and ate and gained the “Freshman 15”. This eating frenzy was primarily attributable not to stress, nor boys (there were none around!), nor boredom but rather eating was the best excuse to drag out the social time with new friends AND, as an added bonus, procrastinate so we didn’t have to study.
The college had a lovely little cafe where one could go (AFTER DINNER!!!) for a snack. Said snack generally consisted of coffee (so once the procrastination ended we could pull an all-nighter and actually study) and a grilled cheese Danish which was sauteed in butter on a flat top grill until it was brown and crispy in the middle. Now this thing was just a creation to behold. The flaky layers of pastry, the smooth creaminess of the cream cheese and the buttery glazed edges turned the ordinary Danish into a culinary delight.
Lingering over coffee and this late-night snack (how I even had room to eat such a large “snack” right after dinner I will never understand) over now 40 years ago is no longer a distant memory in Metirement. Rather, all this time to think has made my memories more vivid so that in the quiet hours of the day I conjure up these recollections and get all excited about translating them to this blog. The luxury of time and the luxury of being able to share these funny old thoughts with an audience of readers who seem to like them is giving me so much joy. Thanks to all of you who have commented on the blog. It definitely propels me forward to try new things and to write about old ones.
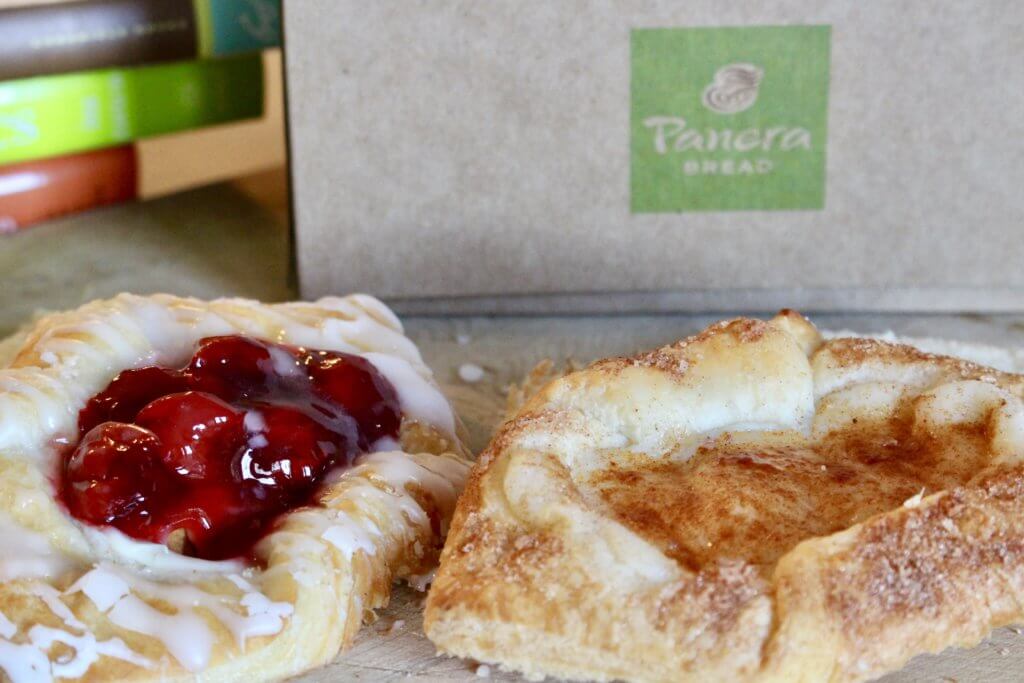
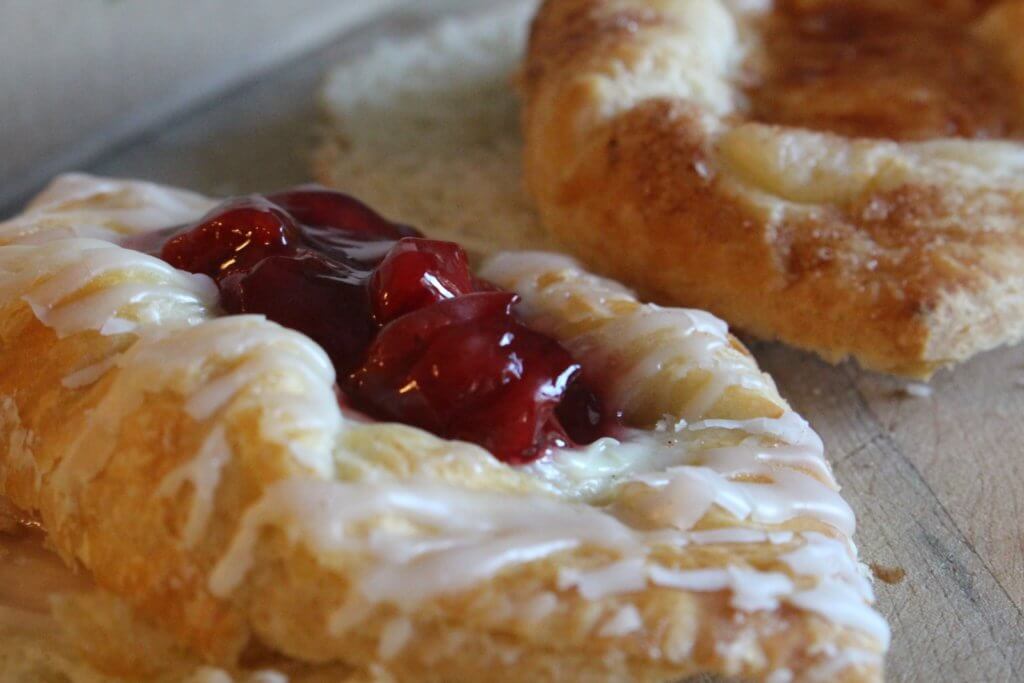
So how to we griddle a Danish? First, making Danish from scratch when there are so many high quality ones to buy seems a bit high on the burden to benefit ratio. So I bought two Danish today at Panera, a cheese and a cherry. I told the nice woman who assisted me that both pastries had to be ABSOLUTELY PERFECT. No holes. No pieces torn or missing. The frosting on both Danish had to be pristine. All of this perfection because I was going to photograph the Danish for the blog. Honestly, this woman thought I was absolutely insane. I mean how many people would insist that the frosting be in perfect parallel lines with not a dot out of place? I decided not to explain for fear that would make her opinion of me even lower.


The simple recipe below with only TWO ingredients (Danish+butter) works great for a quick breakfast but also is just an easy brunch “dish” for Thanksgiving or Christmas morning when you have a house full of guests and don’t want to make about a THOUSAND pancakes. These Danish should be made on a nice big electric griddle or on a grill pan. This one from Calphalon really heats evenly across a large surface and is reversible with ridges for cooking meats and veggies.


I hope you enjoy my historical recipe (40 years has to count as “historical”, right???) which seems pretty original to me (who ever griddled a danish before?). And while I am on the subject of ORIGINAL IDEAS, there is no reason why you cannot apply this same technique (split, grill in butter and revel in the soft, crispy sweetness) to a muffin, cinnamon roll or a sticky bun. I mean really, am I on a ROLL or what?? Punny.
Griddled Danish
Using purchased Danish from your favorite bakery makes this breakfast treat a ten minute quick fix.
Ingredients
- 1 Cheese or Cherry Danish
- 1 T. butter no substitutes
Instructions
-
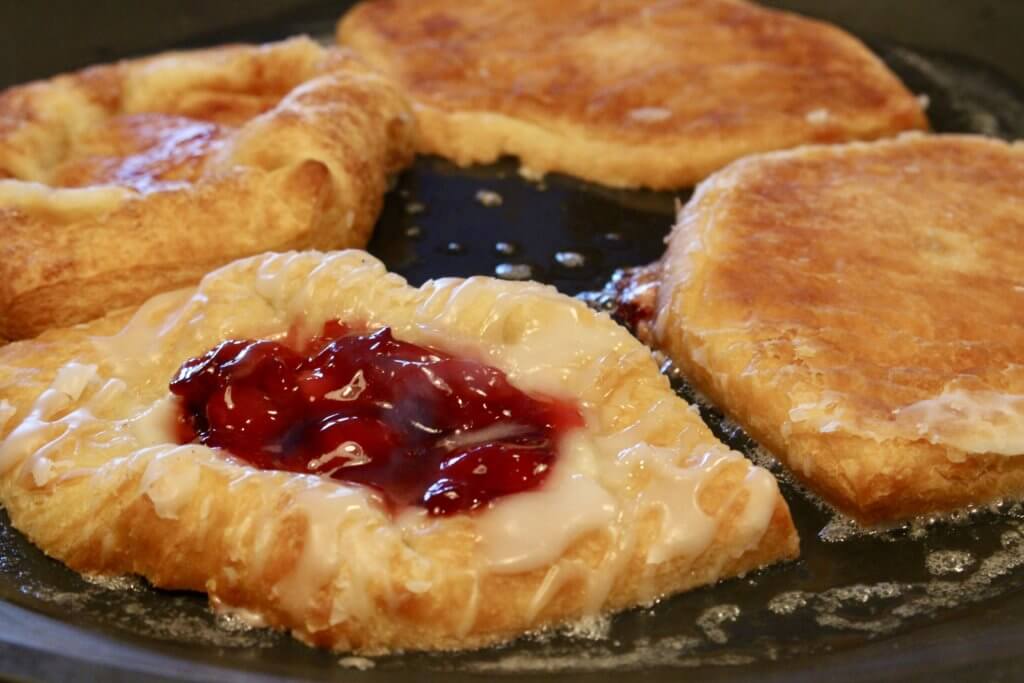
For each person you are serving, melt 1 T. butter over medium high heat on a flat electric griddle, a grill pan or in a frying pan.
-
Split each danish horizontally and place the cut sides down in the butter. Do not crowd the danish or they will not brown.
-
Brown the cut sides of the danish for about 5 minutes, watching closely so they do not burn. Do not turn the danish over. For the last minute turn the heat up to high just to brown them really well. You will have to watch them closely.
-
Using a large spatula, remove the bottom part of the danish to a plate and carefully place the top over the bottom. Serve while hot off of the grill.
Yum!!!! Every recipe you have shared sounds wonderful hope to try all for holidays.
Thanks for the compliment!